.png "E-mail")

Feb . 11, 2025 06:21 Back to list
cutting corner bead
Applying joint compound (mud) over the corner bead further tests one’s skill and experience. The technique involves spreading compound evenly, ensuring no bubbles or gaps. Multiple coats, each sanded smooth after drying, build up a seamless corner finish. An expert approach involves feathering the edges of each coat wider than the previous one to create an immaculate transition between the drywall and the corner bead. Moreover, the significance of maintaining trustworthiness through the entire process cannot be overstated. Professionals understand that adherence to safety standards is non-negotiable. Wearing safety goggles while cutting materials protects from flying debris, and the use of dust masks during sanding operations is a must to prevent inhalation of airborne particles. Trust is further reinforced by using quality materials and employing proven techniques. Cutting and installing corner beads may be challenging, but with the right approach, it can be transformed into a rewarding experience. Mastery in this area not only enhances the aesthetic appeal of a space but also reinforces the durability and longevity of the structure. Sharing this specialized knowledge establishes a foundation of trust, where aspiring tradespeople and seasoned professionals alike can rely on proven methods to achieve excellence in drywall finishing projects.
Latest News
-
Brick Mesh Wall Solutions | Enhanced by GPT-4 Turbo Design
NewsAug.01,2025
-
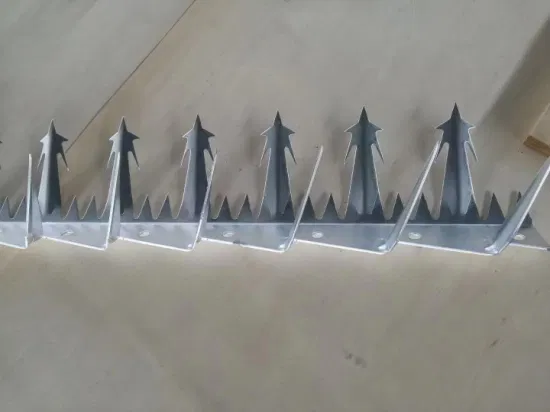
Premium Anti-Climb Fence Spikes for Sale
NewsAug.01,2025
-
Premium Peach Post Fence | Durable & Stylish Security
NewsJul.31,2025
-
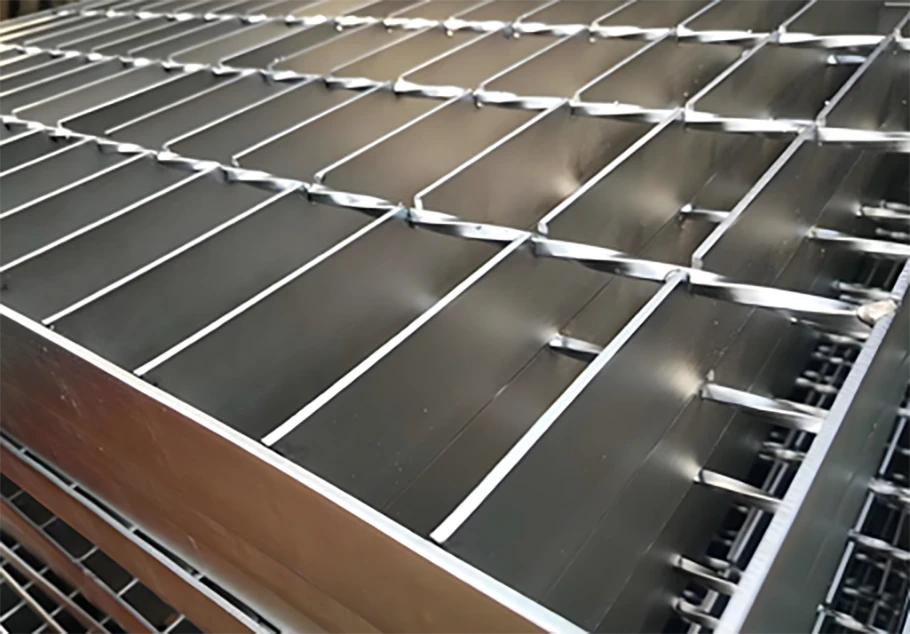
Best Galvanized Grating Price - Durable Galvanized Steel Grating Solutions
NewsJul.30,2025
-
0.5-4.0mm Wire 2×2 4×4 8×8 Hot Dipped Galvanized Welded Mesh Roll
NewsJul.30,2025
-
Metal Fence Pickets for Sale – Durable Galvanized & Steel Options
NewsJul.29,2025
Our company owns has excellent CAD steel grating drawing designers, who can provide customers with perfect steel grating layout design and better meet customers' special requirements for products. We have been adhering to it the business tenet of "quality first, customer first", with high-quality products, reasonable prices, and the fastest delivery time, we wholeheartedly provide customers with a full range of services! Welcome new and old customers to cooperate sincerely and create brilliance together!


Contact Us
WELCOME TO OUR COMPANY!
Thank you for your interest in our services! If you have any questions or wousld like to book a service, please don’t hesitate to contact us. Our team is dedicated to providing you with the highest level of service and support, and we are committed to working with you to make your event a success.

Service Email

Service Phone
Product Center
Contact Us
- Phone: +86 +86 15733154345
- E-mail: sales@chengsenchina.com
- Address: B1213 GLOBAL CENTER, NO.226 ZHONGHUA NORTH STREET, SHIJIAHUANG, CHINA


